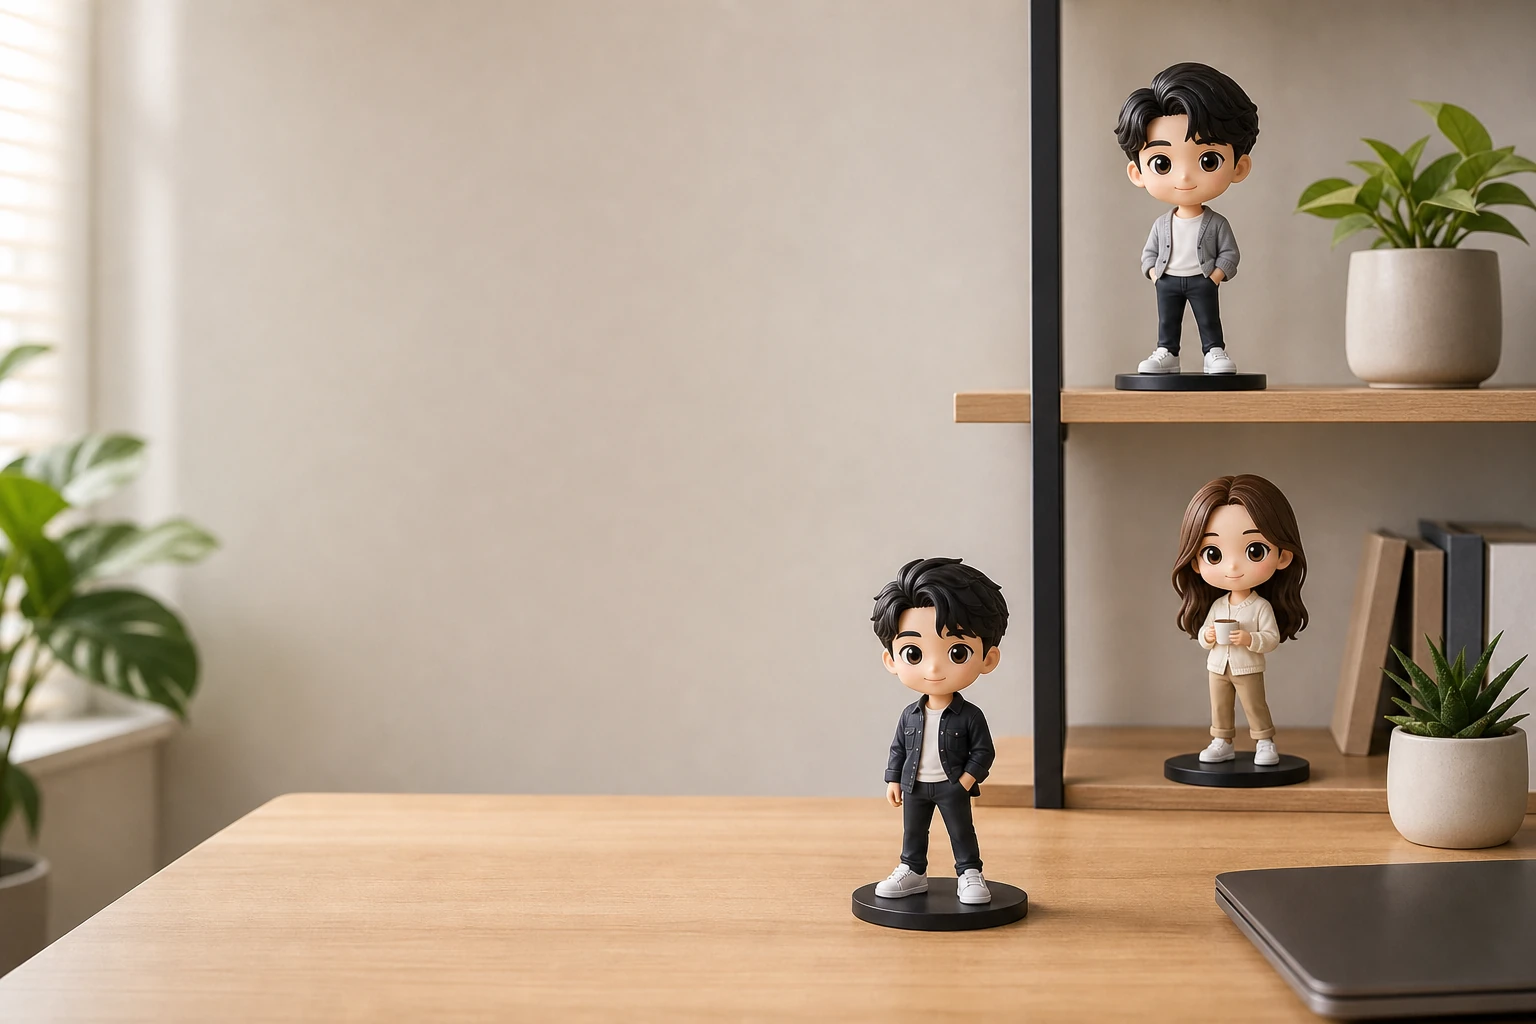
How to Display Figures on Desks, Shelves and in Display Cabinets
Once your figures arrive, the next question is simple: where should they live? The best display is not necessarily the fullest shelf. It is a setup where each figure has enough breathing room to read clearly, sits on a stable surface, and remains easy to see, photograph, and access. This post-purchase guide explains how to display figures on a desk, open shelving, or inside a display cabinet without making the arrangement feel crowded.
Start with the space you already have, then place the figures around their visual importance. A small desktop group can feel intentional with only a few pieces, while a larger collection benefits from a plan for height, spacing, background, and rotation.
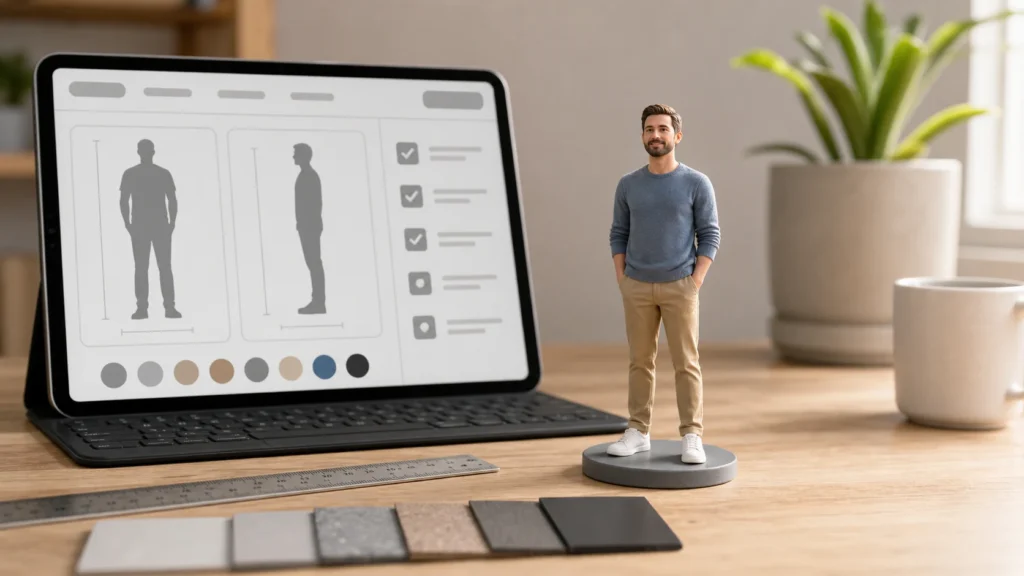
Measure the available space before placing anything
Measure the width, depth, and clear height of each possible location. Do not measure only the shelf board: allow room for the figure’s footprint, your hand, and the sightline from the usual viewing position. If a figure has a broad pose or a base, measure the widest and deepest points rather than relying on the character’s body width.
- Width: note the usable left-to-right area and leave a little margin at both ends.
- Depth: check that the figure sits fully on the surface instead of balancing near the front edge.
- Height: allow clearance above hair, hats, raised arms, props, or a taller base.
- Access: make sure you can reach behind and around the figure without knocking nearby objects.
A quick paper outline or a strip of removable tape can help you test the footprint before moving the actual figure. This is especially useful when comparing a desk corner with a narrow shelf or cabinet compartment.
Use a stable, flat placement first
Flat, level placement is the foundation of a good display. Put the figure on a surface that does not wobble, slopes, or flex noticeably. Keep the entire base supported, and check that the figure is not touching a door, drawer, monitor stand, or another object that could shift it during normal use.
On a desk, place figures outside the main path of your arms, notebooks, cables, and chair movement. On a shelf, avoid positioning a figure where it can be brushed by a book being removed. Inside a display cabinet, check the shelf seating and door clearance before arranging the final group.
If a figure feels unstable, do not improvise a permanent attachment or alter the product. First check the maker’s instructions for the specific piece and consider moving it to a safer location.
Give each figure visual breathing room
Spacing is easier to judge by silhouette than by ruler. Set the figures down with more room than you think you need, then look from the doorway, from your chair, and from the closest normal viewing position. If hair, hands, props, or bases overlap from the main angle, separate the figures until their outlines become distinct.
Equal gaps can look neat, but they are not required. A slightly larger gap around a central figure can create a focal point, while a smaller gap between two figures can suggest a pair. Use the collection’s relationships to guide the arrangement instead of forcing every space to match.
Group figures without crowding the display
Start with one anchor figure, then add related pieces around it. You might group by household, occasion, color family, pose, or the story you want the display to suggest. Keep the group small enough that a viewer can understand the grouping at a glance.
- Place the tallest or most important figure first.
- Add shorter figures to the side or slightly forward, not directly in front of the anchor.
- Turn neighboring figures a little so every face is visible from the main viewing angle.
- Remove one piece if the group becomes a wall of overlapping shapes.
For desktop figures, leave working space around the group. A display that looks attractive but forces you to reach through the figures every time you use the desk will be hard to maintain.
Choose eye level for attention and lower shelves for depth
Eye-level placement is useful for a favorite figure or a piece with details you want to notice often. It gives the figure a direct sightline and works well when the background is calm. A lower shelf can add depth and make a taller arrangement feel layered, but keep the face visible and avoid hiding it behind the shelf above.
For a multi-level setup, vary height gradually rather than placing every tall piece at the back. A short figure can sit forward on a lower surface, while a taller figure can occupy the back or upper level. Step back after each change: the display should still read as a group from the room, not only from a close-up.
Use background and contrast to make shapes readable
A quiet background helps the figure stand out. If the figure has dark clothing or hair, a lighter wall or shelf backing can clarify the outline. If it is mostly light, a medium or deeper background may provide more separation. You do not need a special backdrop; simply move the figure away from a busy stack of objects, strong patterns, or visually similar colors.
Contrast also applies within the group. Avoid placing two figures with nearly identical silhouettes directly on top of one another from the main angle. A small change in position, height, or facing direction can make both easier to read.
Plan lighting for viewing and photographing
Use the room’s ordinary lighting as a starting point. Look for reflections, deep shadows, and backlighting that make faces or clothing hard to see. A gentle change in the figure’s angle may help more than adding equipment. Keep the lighting arrangement comfortable for the room and avoid placing a display where a glare-prone screen or window overwhelms it.
For a quick display photo, turn the figure slightly toward the light source, keep the camera near the figure’s eye level, and include enough of the surrounding desk or shelf to show scale. Take one wider image for context and one closer image for recognizable details. Wipe the camera lens, steady the phone, and check the edges of the frame for distracting objects before sharing.
Keep access and fall safety in mind
Place figures away from shelf edges, unstable stacks, open stair rails, busy walkways, and locations where a pet, child, bag, or sleeve could pull them down. Do not put them on top of a monitor, near a frequently opened door, or in a spot where a fall could damage the figure or create a hazard.
For shelves and cabinets, inspect the display after opening and closing nearby doors. On a desk, check the setup after you move your chair or rearrange equipment. If a figure is intended for a particular material or finish, follow the maker’s care guidance for material-specific questions rather than relying on a general internet rule.
Rotate displays instead of filling every surface
Rotation keeps a collection visible without requiring every figure to be on display at once. Choose a small seasonal, occasion-based, or favorite group and store the remaining pieces according to the maker’s guidance. When you rotate, photograph the outgoing arrangement first so you can recreate a setup that worked.
Use rotation to test different sightlines: a desk group may work better beside a monitor one month and on an open shelf the next. Notice which placement makes the figures easiest to see and least likely to be bumped. The goal is a display that fits your actual routine.
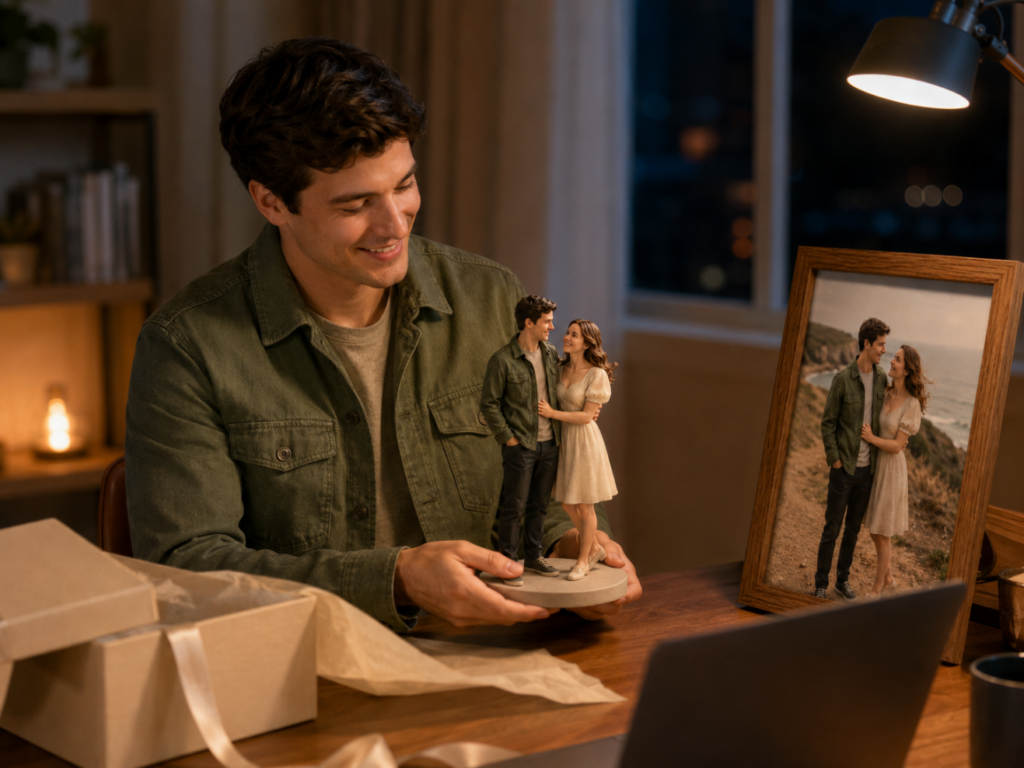
A personalized figure that works in a desk display
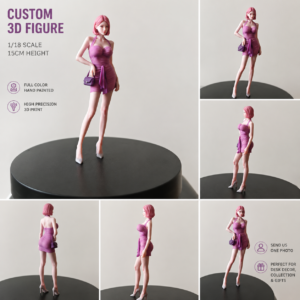
GetFigmo’s Personalized 3D Chibi Figurines From Photos of People or Pets is a relevant option for a personal desktop display or collectible arrangement. The live product page describes a photo-based chibi figurine with multiple sizes, so you can plan the footprint around the space you measured. It does not include a cabinet, stand, case, lighting, or other display accessories, so choose the placement and surrounding setup separately.
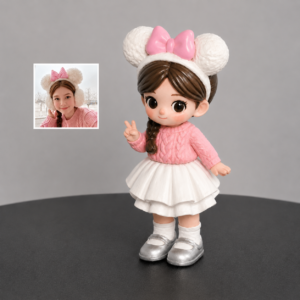
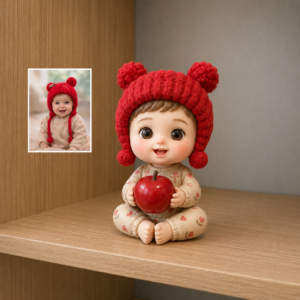
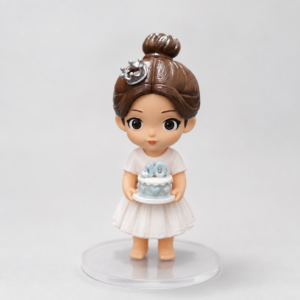
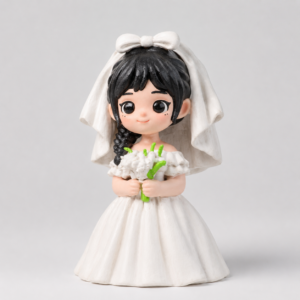
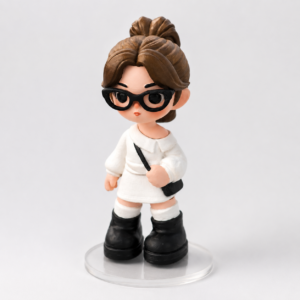
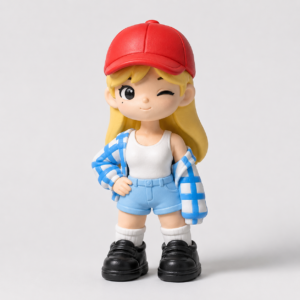
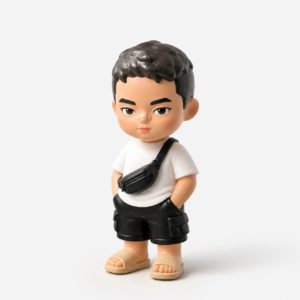
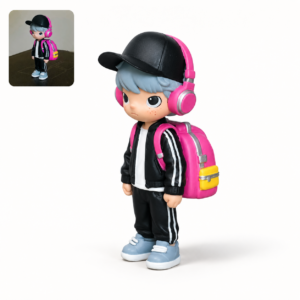
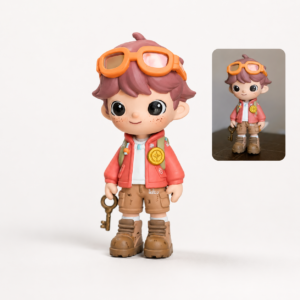

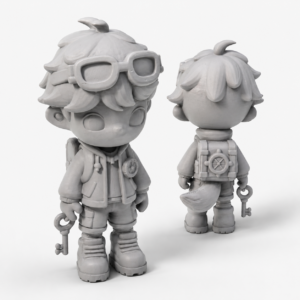
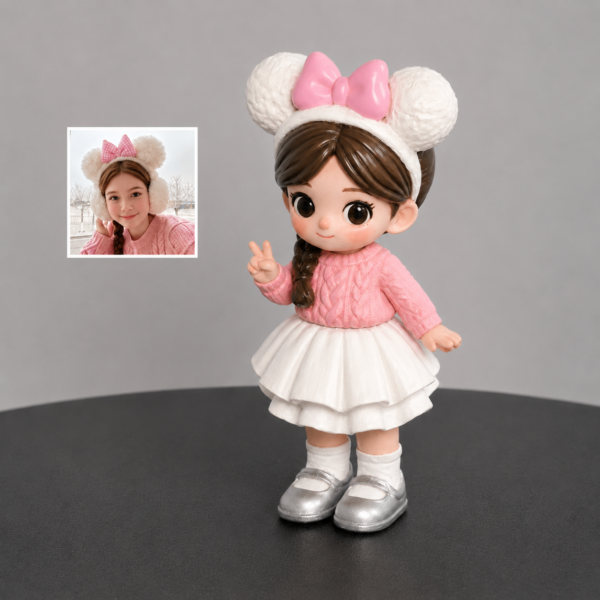
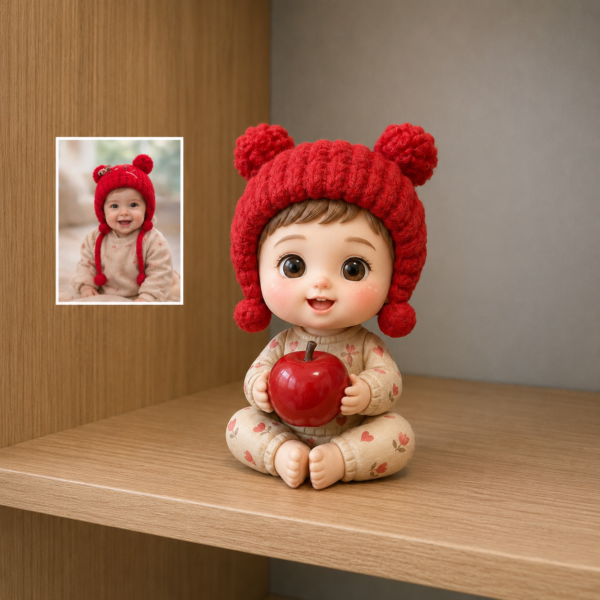
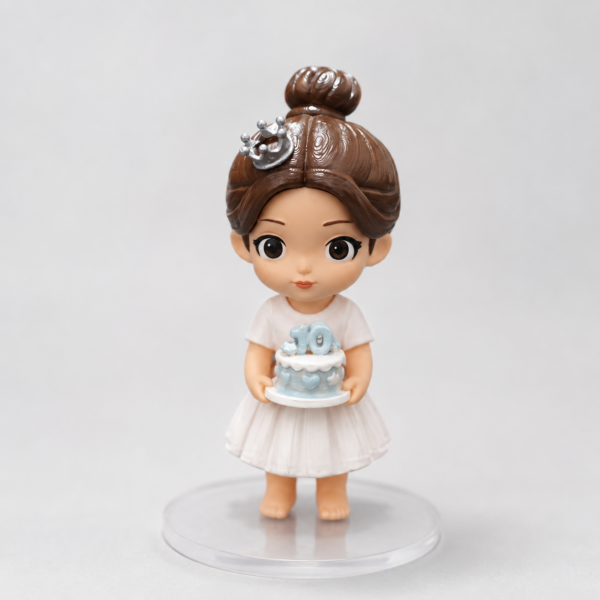
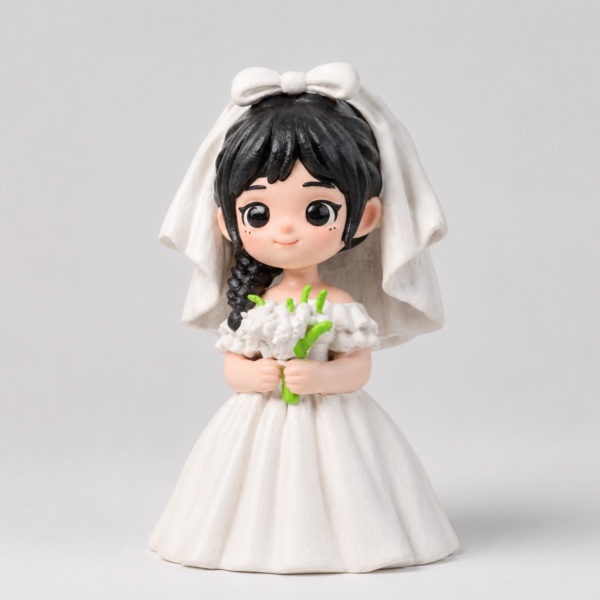
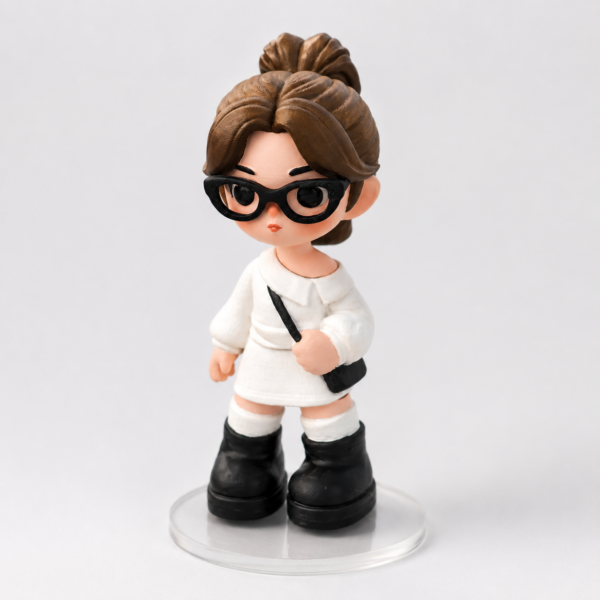
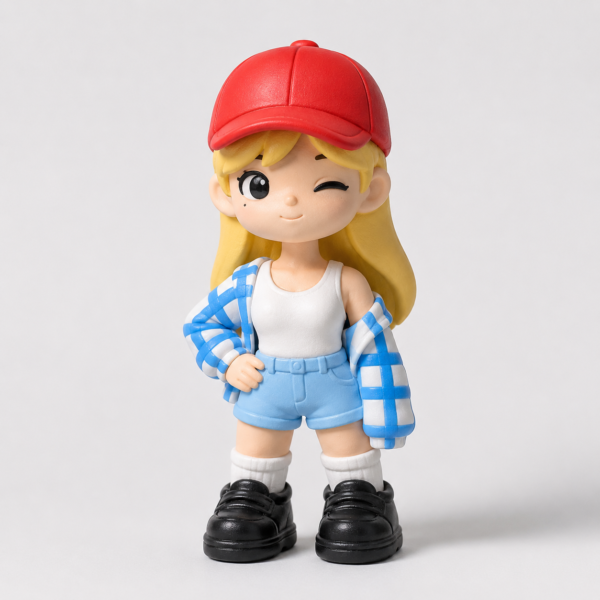
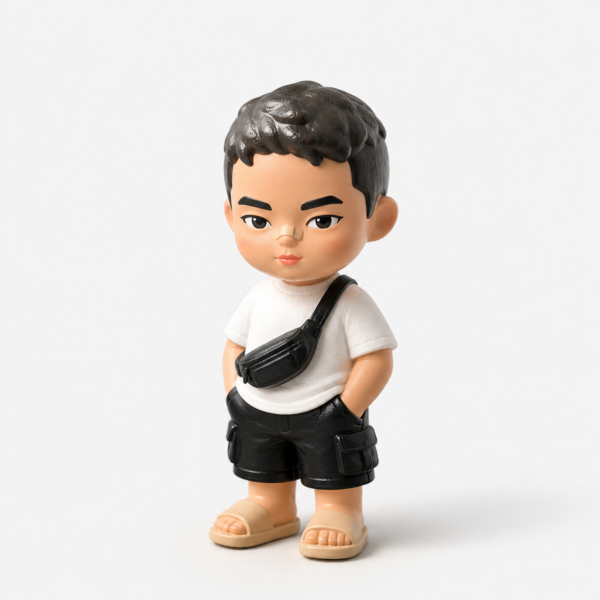
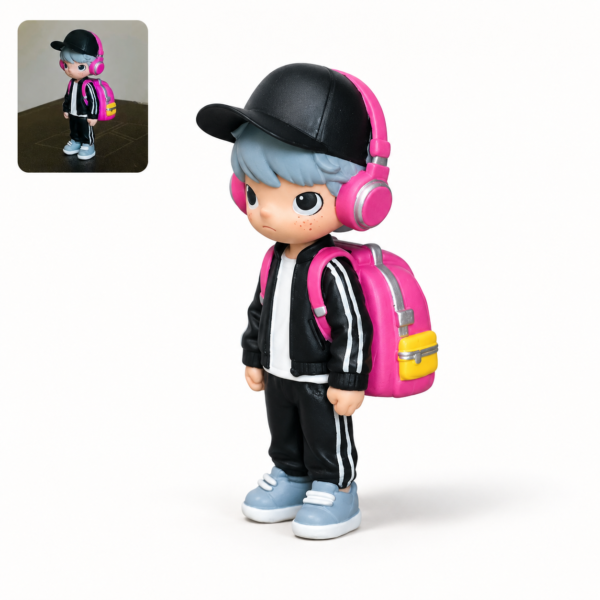
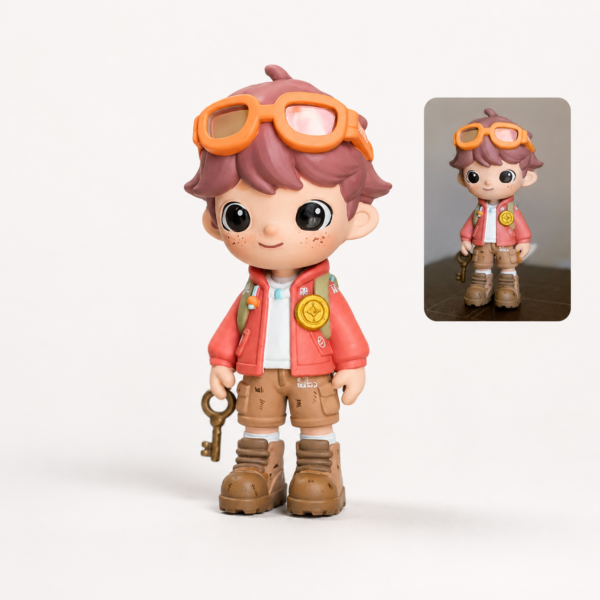

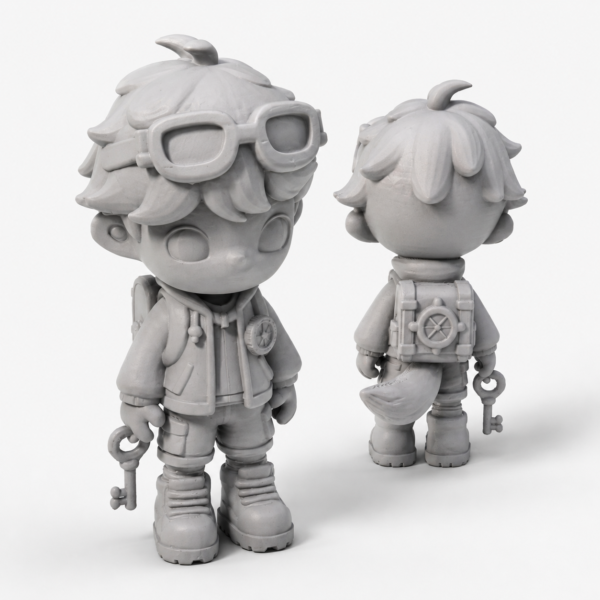
Personalized 3D Chibi Figurines From Photos of People or Pets
Create personalized 3D chibi figurines from photos of people or pets, with cute big-head proportions and optional painting.
Frequently asked questions
How much space should I leave between display figures?
Leave enough space for each silhouette, base, and the viewing angle you use most. Start with wider gaps, then bring pieces closer only when their outlines remain easy to distinguish.
Should figures for a desk face straight forward?
Not always. Face the main figure toward the room or your usual seat, and angle neighboring figures slightly when that improves visibility. Avoid turning every figure away from the main sightline.
Is an open shelf or display cabinet better?
Choose the location that gives the figure a stable, visible surface and lets you access it safely. An open shelf can make a collection easy to see, while a cabinet can organize pieces behind a door; the right choice depends on your room and routine.
How do I care for a figure while it is on display?
Follow the maker’s care guidance, especially for material-specific questions. Keep the display accessible enough that you can inspect it, move it safely, and maintain the surrounding space without knocking the figure.
Once you have measured the space, place one anchor figure and build outward with clear sightlines. A thoughtful display does not need to be large: it needs stable placement, useful spacing, and enough contrast for each piece to be enjoyed.