Painting 3D printed figures is easier to manage when you treat the job as a sequence of small checks rather than one long painting session. If you already chose a raw chibi figurine, begin by confirming what arrived, how its surface was prepared, and what the maker recommends. Then document the figure, plan the color map, test compatibility, and build color in thin, controlled layers.
This guide is a cautious post-purchase workflow, not a raw-versus-painted buying comparison. It does not prescribe a solvent, chemical recipe, abrasive grade, universal primer, paint system, clear coat, or fixed curing time. Materials and surface treatments vary. Follow the figure maker’s instructions and every product label, and stop to ask the maker when the material or existing treatment is unknown.
1. Confirm the material and current surface condition
Before opening paint, ask the maker exactly what the figure is made from and how it was delivered. “Resin” or “3D printed” may not tell you everything needed to choose compatible finishing products. You also need to know whether the figure was washed, post-processed, sealed, primed, repaired, or given another surface treatment before shipping.
- What is the exact figure material?
- Was the surface cleaned, prepared, primed, sealed, or otherwise treated?
- Are any parts bonded, pinned, detachable, or intended to remain separate?
- Does the maker have preparation or coating guidance for this specific figure?
- Is there a spare sample, hidden underside, or inconspicuous area suitable for a compatibility test?
Do not infer the answer from color alone. A gray or off-white surface can still have an existing treatment. If the maker cannot identify the surface, pause before applying a new product. A short clarification now is better than trying to reverse an incompatible layer later.
2. Inspect and photograph the raw figurine
Set the raw figurine on a stable, clean surface under even light. Look at it from the front, back, both sides, above, and below. Photograph each view before making changes. These reference photos give you a record of the original surface and help you notice sculpted boundaries that may be hard to see once several colors are in progress.
Pay special attention to the face, hairline, fingers, clothing edges, shoes, pet markings, props, and the point where the figure meets its base. Check for visible dust, loose particles, small surface marks, thin projections, and areas that might be easy to bump. The goal is not to diagnose or aggressively correct every mark. It is to understand what is present and decide which questions need to go back to the maker.
3. Identify detachable and fragile areas
A chibi figure may look compact, but small features can still be delicate. Make a simple part map before handling it repeatedly. Note separate accessories, a removable base, thin hair points, ears, glasses, tails, straps, fingers, or narrow outfit details. Confirm with the maker which parts are intentionally detachable and which should not be moved.
If a component was shipped separately, do not assume it should be permanently attached before painting. Painting parts individually may or may not suit the maker’s intended assembly method. Likewise, a fitted connection may depend on clean contact surfaces. Ask before coating an attachment point or forcing a tight joint.
4. Follow maker guidance for cleaning and preparation
Preparation should match the confirmed material and surface condition. Use the maker’s instructions rather than a generic recipe copied from another type of figure. If the guidance calls for a preparation step, follow it exactly and observe all relevant product labels. Keep the figure supported so fragile parts are not used as handles.
Do not improvise with a solvent, cleaning mixture, aggressive tool, or abrasive because it worked on a different model. Those choices can interact differently with the printed material, an adhesive, a repair, or an existing coating. When the surface treatment is unknown, stop and ask the maker before continuing.
5. Test primer, paint, and clear-coat compatibility
A compatibility test is the decision gate between preparation and the full paint job. Test the intended sequence on a spare sample supplied for that purpose or on a small inconspicuous area approved by the maker. Do not assume that a primer, paint, and clear coat are compatible merely because each product is individually described for hobby use.
- Use the same surface preparation planned for the figure.
- Apply only the products and order you intend to use.
- Follow each label’s application, drying, recoating, and curing directions.
- Observe the test after every stage rather than judging only the final appearance.
- Stop if the surface changes unexpectedly, remains unsuitable, or the maker’s guidance conflicts with the product label.
Testing cannot guarantee every result, but it can reveal an obvious mismatch before it affects the face, clothing, or another prominent area. If you are painting resin figures from more than one maker, treat each confirmed material and surface treatment as a separate project rather than carrying assumptions from one figure to the next.
6. Plan color references before the first full layer
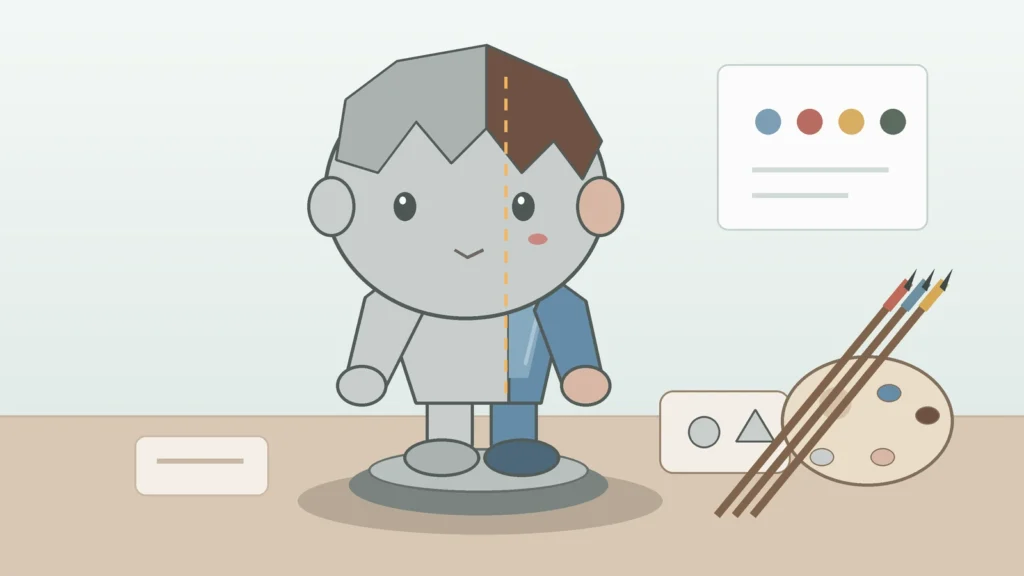
Turn your reference photos into a simple color plan. List the major zones first: hair, skin or fur, top, bottoms, shoes, base, and any prop. Then identify small accents such as eyes, eyebrows, trim, buttons, pet markings, or jewelry. A limited, deliberate palette is easier to control than making every color decision while paint is already open.
Choose one image as the main color reference and use additional views only to clarify hidden areas. Screens and lighting can shift color, so note which details matter most instead of chasing an exact digital match. For a personalized figure, the most recognizable cues may be a jacket color, hairstyle, pet marking, or shoe contrast rather than every subtle shade.
You can also plan the order of work. Broad, easy-to-reach areas usually deserve attention before tiny facial and outfit details, but the exact order should suit the figure’s shape and your tested products. Keep the plan visible so you do not repeatedly handle the figure to check a phone or move wet work near a reference sheet.
7. Build thin, controlled layers
When the test is satisfactory and the maker’s guidance is clear, move to the figure gradually. Thin, controlled applications make it easier to keep sculpted boundaries visible and to stop before a small area becomes overloaded. Work on a supported section, check it from more than one angle, and correct your approach early rather than trying to cover a problem with a heavy layer.
Do not use a universal layer count. Coverage depends on the tested paint, color, surface, and application method. Follow the product’s stated directions and judge each stage under consistent light. If an area needs another layer, wait for the specified drying or recoating condition instead of rushing because the surface looks dry from one angle.
8. Respect stated drying and curing times
Drying and curing are product-specific, so the label—not a generic online timetable—should control the schedule. Give each stage the stated time and conditions before masking, handling, recoating, assembling, or applying another product. Keep a short project note with the product used, the area completed, and the earliest label-permitted next step.
This is especially useful when a paint 3D printed figurine project spans several sessions. A written sequence prevents guesswork about which small section was finished last and helps you avoid pressing a finger against an area that is not ready for handling.
9. Protect small face and outfit details
The face is usually the visual center of a chibi figure, while clothing edges and accessories carry much of the personal identity. Stabilize the figure without gripping a painted or fragile feature. Approach tiny details only after nearby areas have reached the label-stated condition for further work.
- Keep the eye line, mouth, hairline, and skin-to-hair boundary readable.
- Separate outfit panels with clean visual edges rather than heavy buildup.
- Work around raised seams, pockets, laces, jewelry, and pet markings deliberately.
- Rotate the supported base instead of twisting an arm, ear, tail, or prop.
- Pause when fatigue makes small placement less controlled.
For raw figurine painting, stopping at the right moment is part of the workflow. If a surface behaves differently from the test area, a joint becomes uncertain, or a detail appears too fragile to handle safely, set the figure down and ask the maker before proceeding.
A raw chibi option for a planned DIY project
GetFigmo’s Personalized 3D Chibi Figurines From Photos of People or Pets listing currently describes raw and painted finish options, including a raw choice for DIY preferences. Confirm the exact material, current surface condition, detachable parts, and preparation guidance for your specific order before painting. The product listing does not state that paint supplies or tools are included.
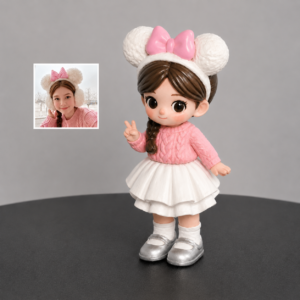
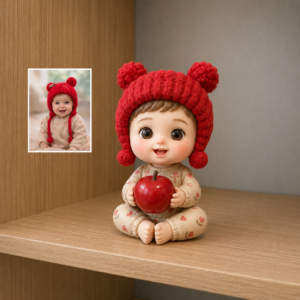
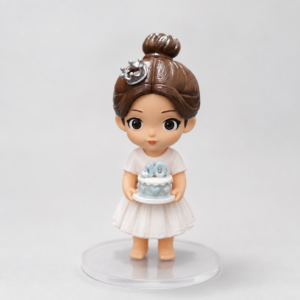
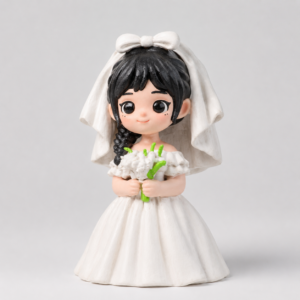
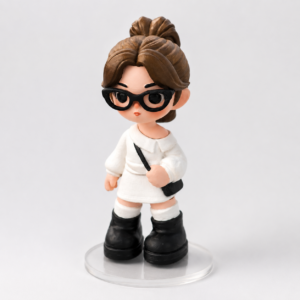
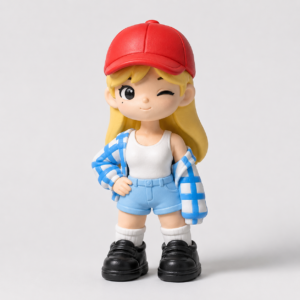
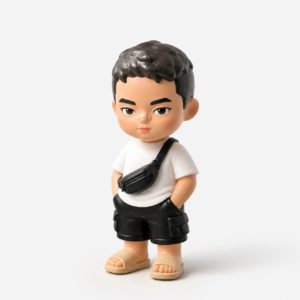
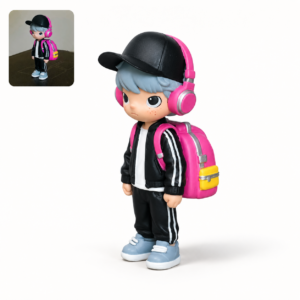
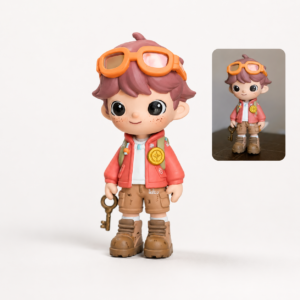
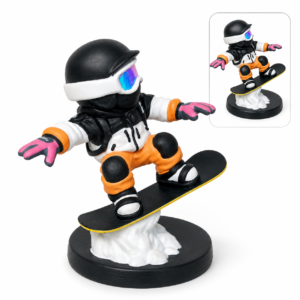
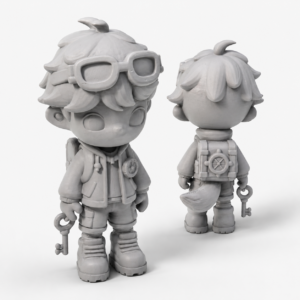
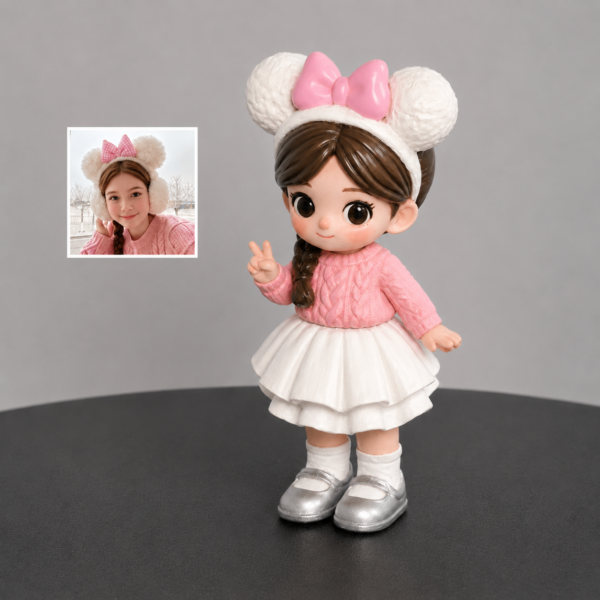
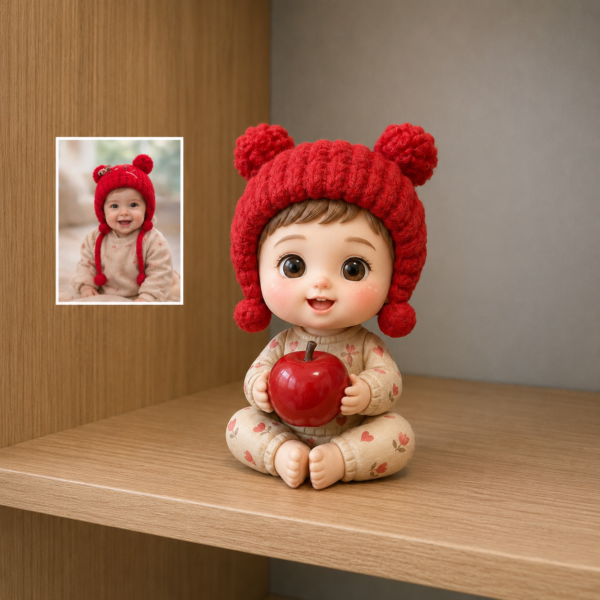
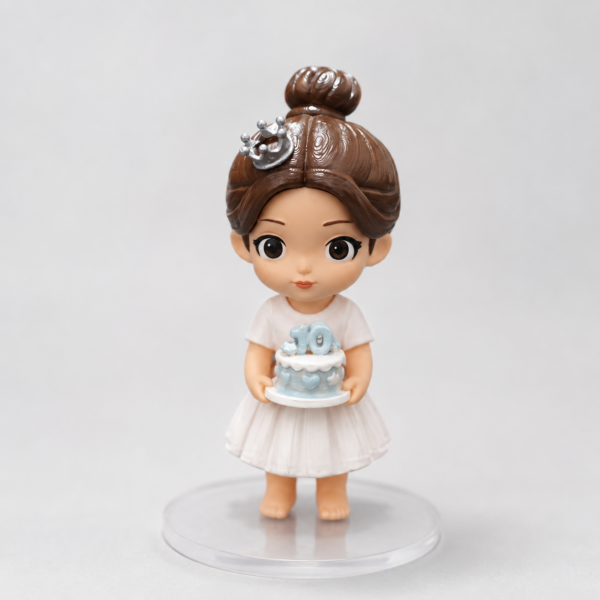
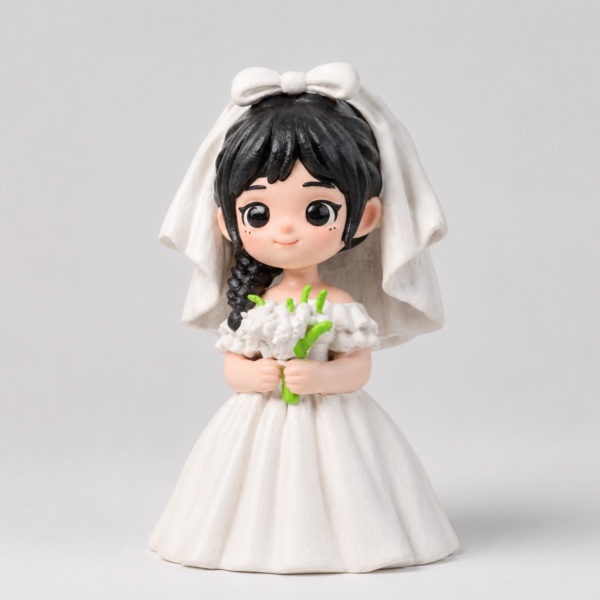
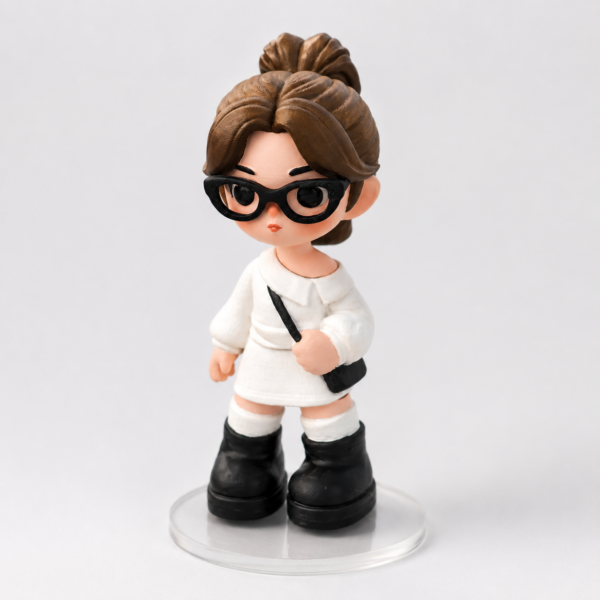
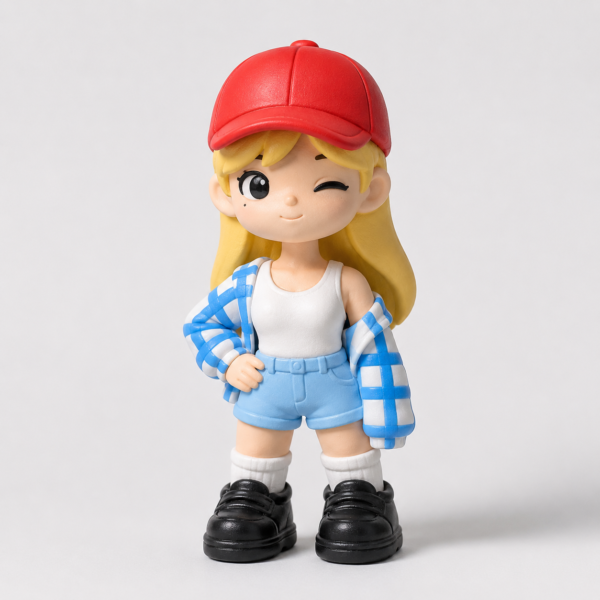
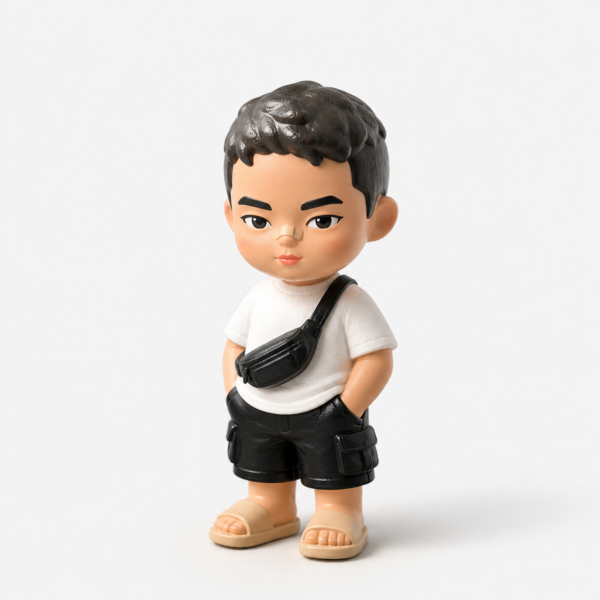
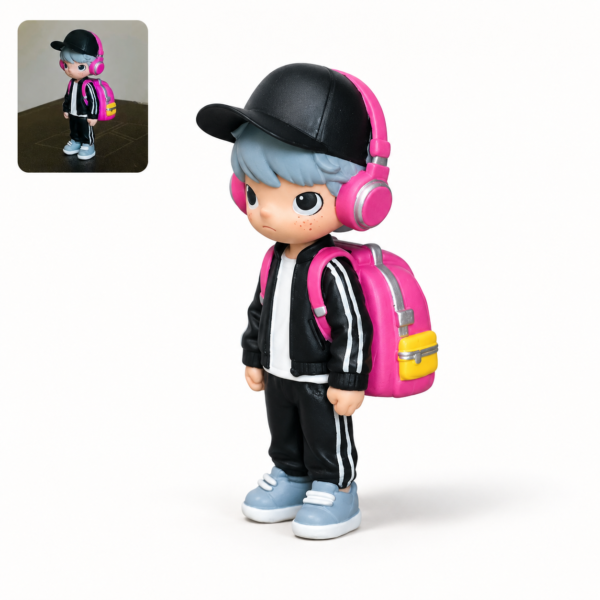
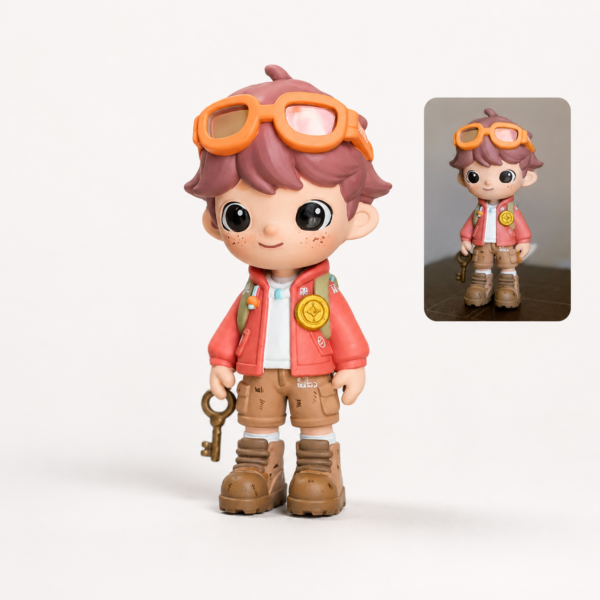
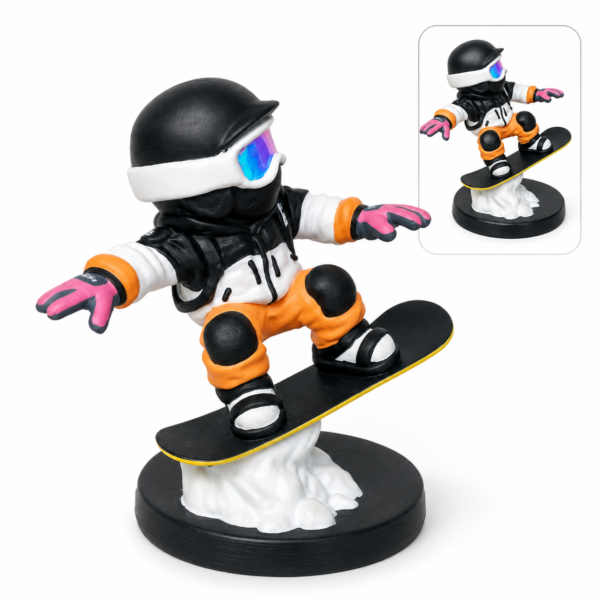
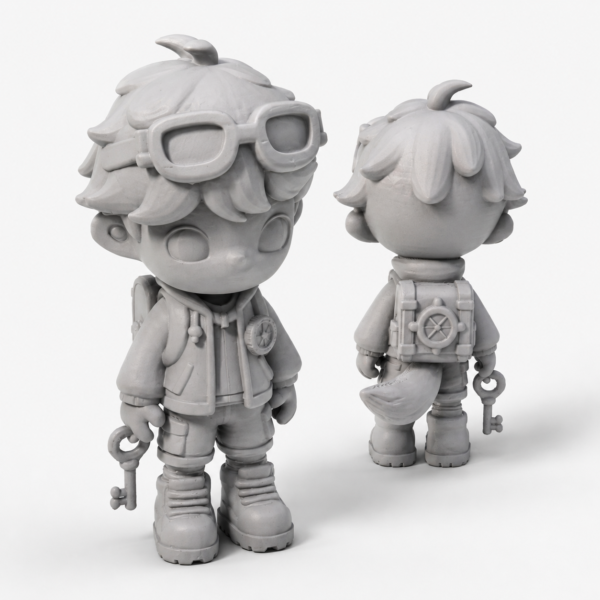
Personalized 3D Chibi Figurines From Photos of People or Pets
Create personalized 3D chibi figurines from photos of people or pets, with cute big-head proportions and optional painting.
10. Complete final display and handling checks
After the last tested product has reached its label-stated curing condition, inspect the figure again under even light. Check the front, back, sides, underside, and all attachment points. Confirm that no small area was missed, no detachable piece was accidentally coated where it must fit, and no fragile feature was stressed during handling.
Place the figure on a stable, level display surface and make sure the base sits as intended. Handle it by the stable areas identified earlier, not by the head, arm, ear, tail, prop, or another small projection. Keep the original photos and your product notes with the project record so future handling decisions are based on what was actually used.
Beginner workflow checklist
- Confirm the exact material and current surface treatment with the maker.
- Photograph the untouched figure from every useful angle.
- Map detachable parts, fitted surfaces, and fragile details.
- Follow maker-specific cleaning and preparation guidance.
- Test the intended primer, paint, and clear-coat sequence on an approved hidden area or spare sample.
- Plan major colors, small accents, and reference priorities.
- Build thin, controlled layers without prescribing a universal layer count.
- Follow each label’s drying, recoating, and curing directions.
- Protect the face, outfit edges, and delicate projections while working.
- Stop and ask the maker whenever the surface or assembly is uncertain.
- Complete final display, fit, and handling checks.
Painting a raw chibi figure rewards patience more than speed. Confirm first, test small, work in controlled stages, and let the maker’s guidance and each product label set the boundaries. That approach keeps the focus on the sculpted details you chose the figure for in the first place.
This article provides a general project-planning workflow, not medical or safety advice. Follow all maker instructions and product labels.