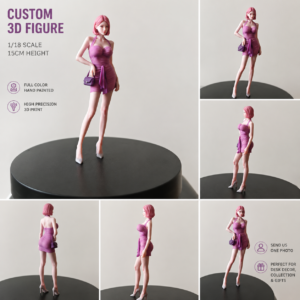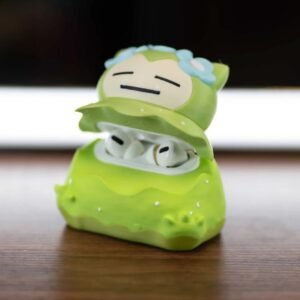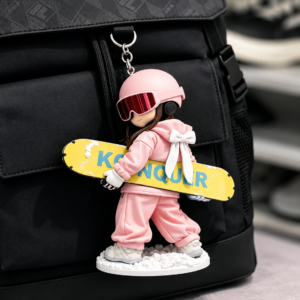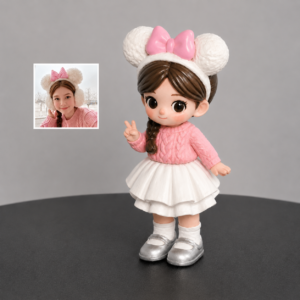
A 3D photo print made as a lithophane is designed to reveal an image through light and shadow. The source photo matters because a clear subject, readable contrast, and a controlled background give the maker a stronger starting point. Before requesting a quote, choose the image for how it will read as an illuminated panel—not only for how it looks on a phone screen.
The best candidate is usually a sharp photo with an obvious focal point. Faces or subjects should be visible, important details should not disappear into deep shadow, and the background should support rather than compete with the main image. This guide focuses only on preparing photos for a lithophane night light, so it does not repeat broader comparisons between relief portraits and full figurines.
How a lithophane turns a picture into a glowing image
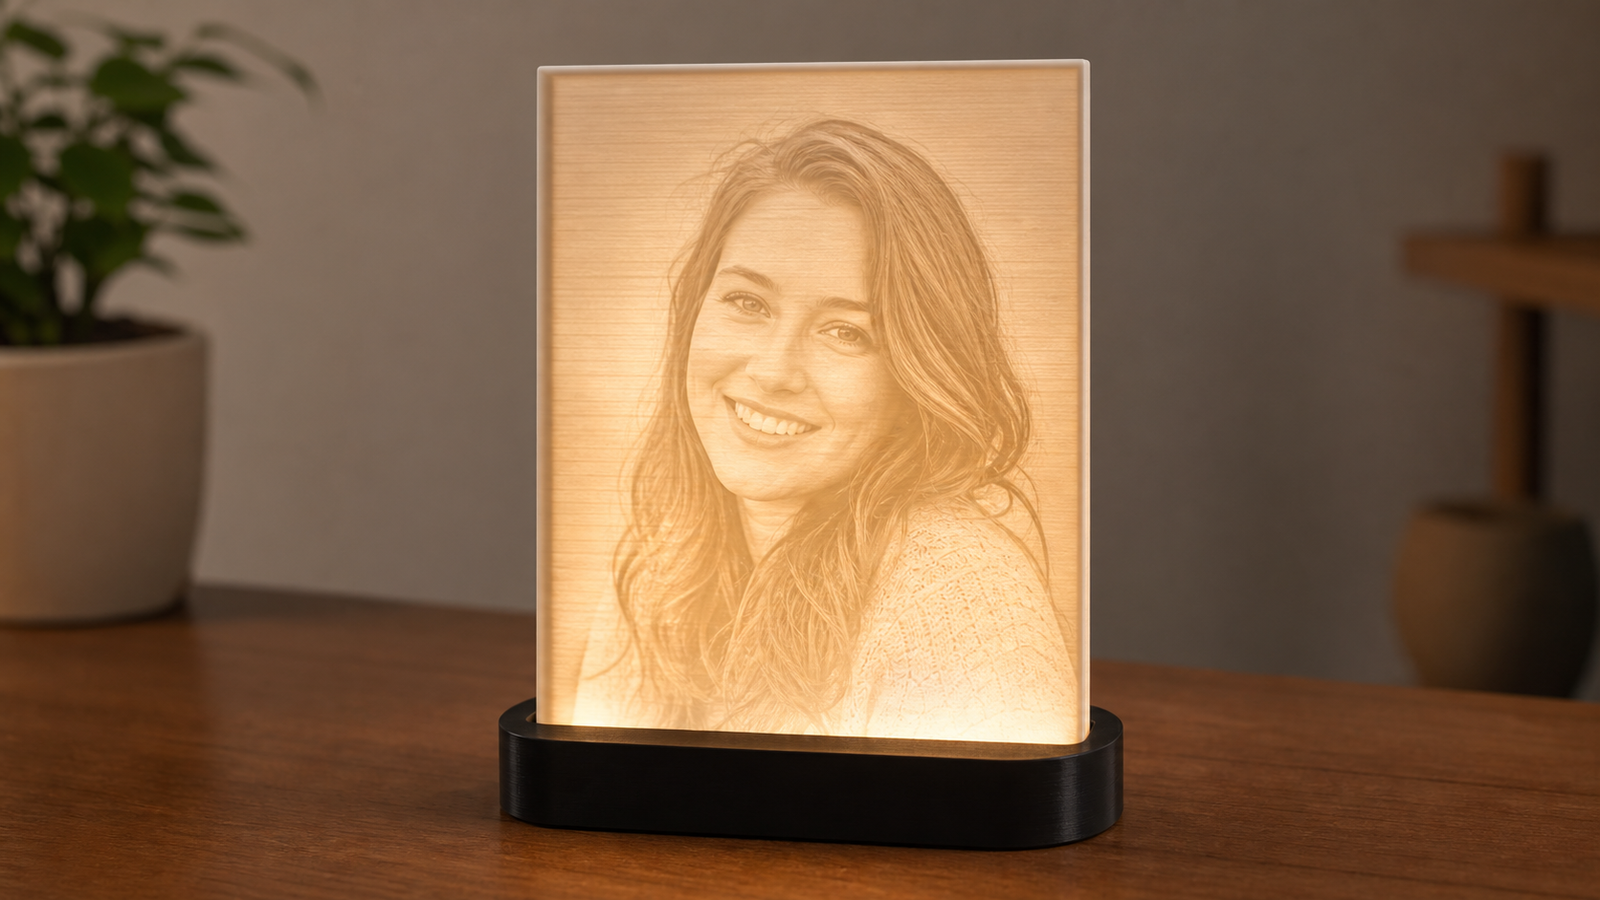
A lithophane converts the light and dark areas of a photograph into a layered panel. When illuminated from behind, those variations reveal the picture. The live GetFigmo product describes the result as a glowing 3D-printed panel whose full photo effect is strongest when the light is switched on.
That means photo selection is not just a matter of resolution. Tonal separation, subject visibility, composition, and crop all affect whether the final image can be understood at a glance. Think of 3D image printing for a lithophane as preparing a picture to be read by light.
Choose contrast that separates the subject
Look for clear differences between the subject and the surrounding area. A face against a quieter background is easier to read than a face surrounded by similar tones, heavy shadows, or bright visual clutter. The goal is not extreme contrast; it is enough separation for the main shapes to remain recognizable.
- Prefer even light across the face or main subject.
- Check that hair, clothing, or pet fur does not blend completely into the background.
- Avoid photos where the brightest area is unrelated to the subject.
- Be cautious with filters that crush shadows or wash out highlights.
A simple test is to view the image small. If you can still identify the subject and expression without zooming in, the composition is more likely to stay clear when translated into a display panel.
Keep the face or main subject fully visible
For portraits, choose a frame in which the face is sharp and unobstructed. Sunglasses, hair across the eyes, a hand over the cheek, or strong backlighting may hide the features that make the person recognizable. A natural front-facing or three-quarter view often gives the maker more visible information than an extreme angle.
The same rule applies to other 3D printed photographs. For a pet, keep the eyes, ears, markings, and outline readable. For a place or landscape, identify the one feature that should command attention—a skyline, building, mountain ridge, or tree line—rather than relying on many tiny details.
Use a simple background—or plan to simplify it
A busy background can compete with the subject once both are translated into light and shadow. Patterns, crowds, foliage, shelves, and overlapping objects may create visual noise. If the meaningful part of the photo is strong, ask whether the background can be softened, simplified, or cropped during preparation.
Do not assume unwanted objects can always be removed cleanly. Mention them when requesting a quote and ask what edit is realistic. If you have two versions—one with the original scene and one with a cleaner crop—send both and state which details must remain.
Plan the crop and orientation before submitting
A good 3D printed picture needs a crop that fits the intended panel without cutting through important features. Leave breathing room around faces, heads, ears, or landmarks. Screenshots and tightly cropped social images may not contain enough space for a balanced layout.
- Portrait orientation: often suits one person, a close couple portrait, or a vertically framed pet.
- Landscape orientation: can suit a wider family scene, travel view, or group composition.
- Square image: may work, but confirm how it will be adapted to the available frame or panel.
Orientation should follow the image rather than forcing every photo into the same format. Ask which frame and size options are available before committing to a crop. The current GetFigmo listing asks customers to choose the light style, size, and frame option as part of the quote process.
Can a lithophane include more than one person?
A group image can work when every important subject is sharp, visible, and large enough in the frame. Problems usually begin when people overlap heavily, stand at very different distances from the camera, or become small against a wide background.
- Choose a photo where faces receive similar lighting.
- Avoid placing the key person at the far edge of the crop.
- Check that no face is blocked by hair, hands, hats, or another subject.
- Identify who or what must remain the focal point.
If several photos show the same group, send the clearest candidate first and the others as references. Confirm whether combining separate subjects is supported before assuming that people from different images can be assembled into one scene.
Pet and landscape photos can work—with a clear focal point
GetFigmo’s live lithophane listing specifically supports pet portraits and travel or landscape photos when the subject is sharp. For pets, prioritize visible eyes, the outline of the head or body, and distinctive markings. Avoid a dark-coated pet against a dark sofa or a pale pet against an overexposed window.
For landscapes, choose a scene with strong, readable layers rather than a field of tiny detail. A recognizable horizon, architecture, or foreground shape gives the eye somewhere to settle. If the emotional focus is a person within the landscape, make sure that person is not so small that the scene becomes the only readable subject.
A live GetFigmo option for your 3D photo print
The Custom Photo Lithophane Night Light From Your Picture is the direct catalog match for this guide. Its current product information asks for a high-contrast photo with clear faces or subjects and says that pet portraits, travel photos, and family scenes can work when the subject is sharp. For a real example of the format in use, you can also read how a baby photo became a custom night light.
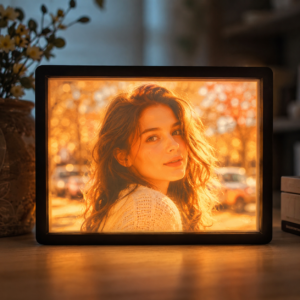
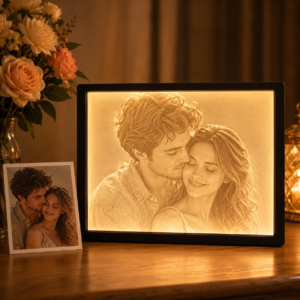
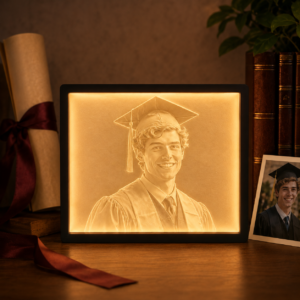
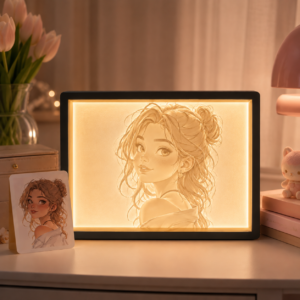
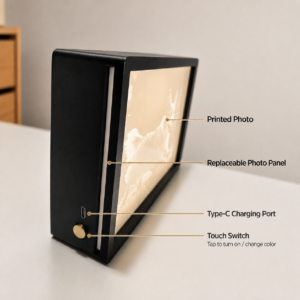
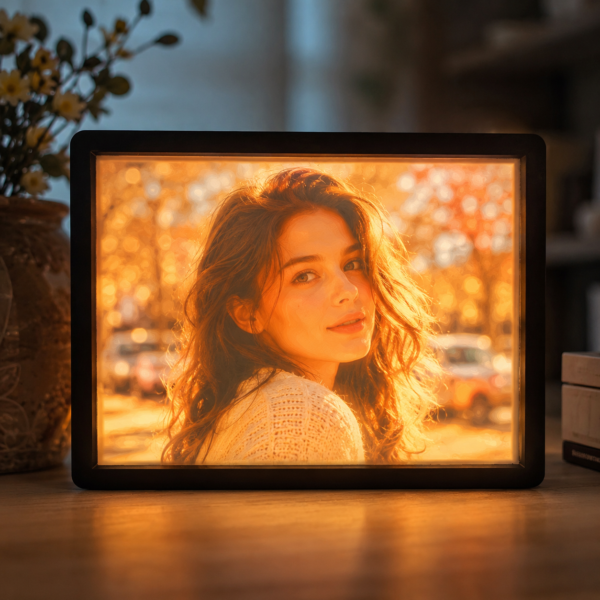
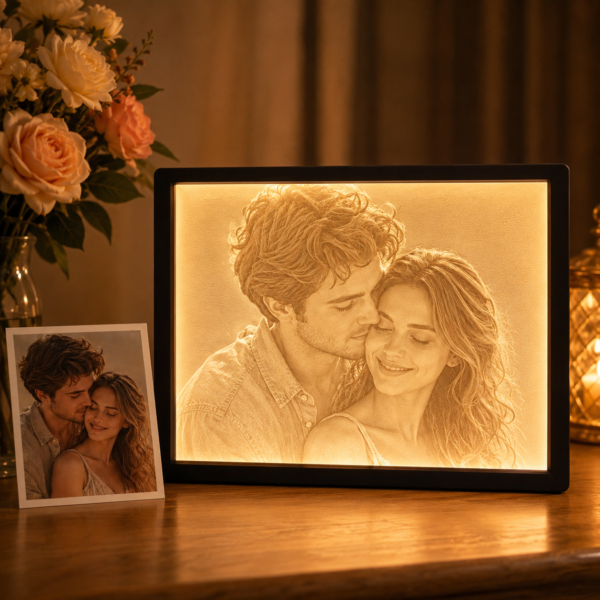
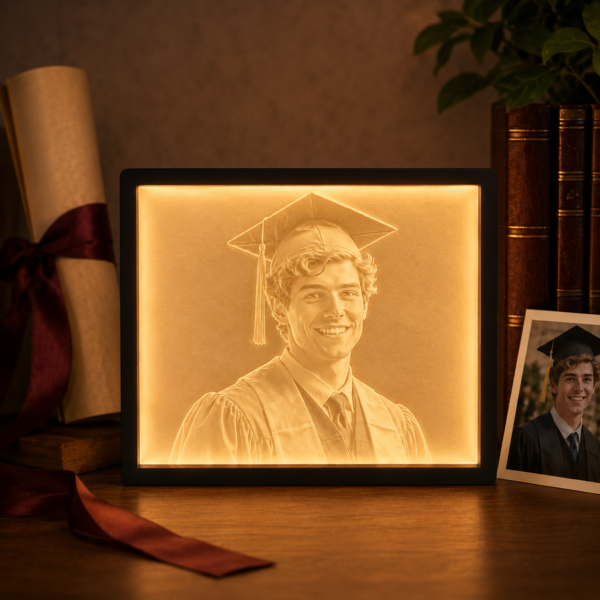
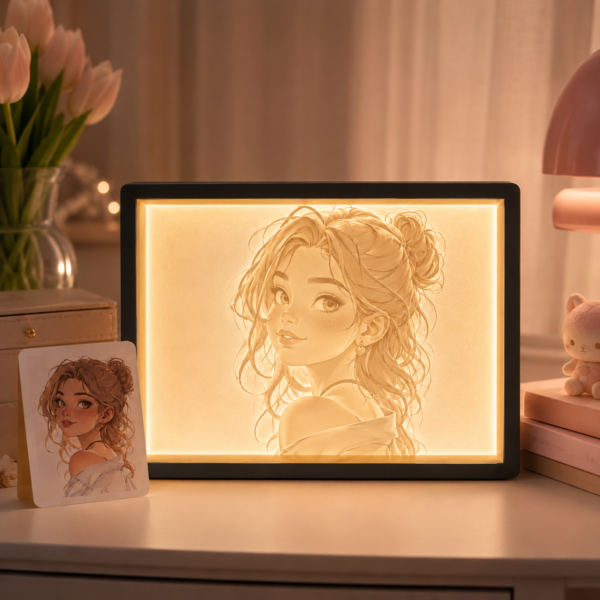
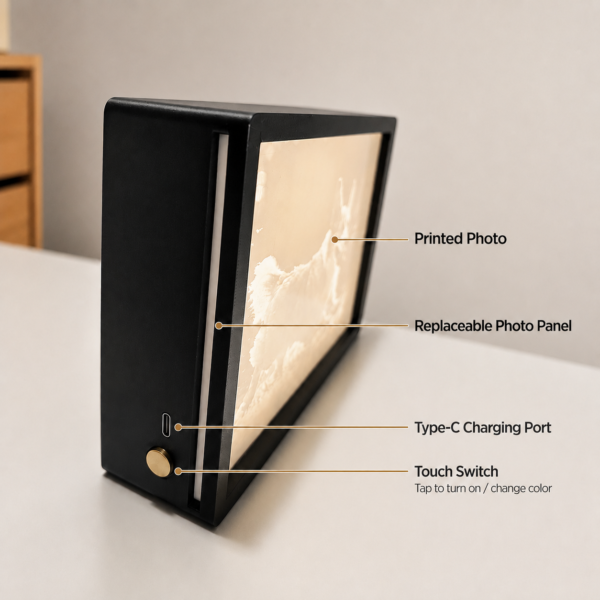
Custom Photo Lithophane Night Light From Your Picture
Turn any photo into a custom lithophane night light that reveals your image in soft warm or RGB light.
What to confirm before requesting a quote
Send the original photo when possible, not a compressed screenshot or a copy downloaded from social media. Then give the maker a short brief that explains the intended result. A useful quote request should confirm:
- which photo is the primary reference;
- the person, pet, or scene that must remain the focal point;
- whether the background should stay, be simplified, or be cropped;
- the preferred portrait or landscape orientation;
- the available light style, size, and frame options;
- whether text or another requested detail is feasible before it is added;
- what the final crop will include;
- any unclear faces, dark areas, or small details that may need another reference.
Do not rely on assumptions about panel specifications, materials, lighting hardware, delivery, or production time. Ask for the options that apply to your image and quote, then review the agreed details before ordering.
Final photo-selection checklist
- The main subject is sharp and easy to identify.
- Faces, eyes, markings, or landmarks are not hidden.
- The subject separates clearly from the background.
- The background is simple enough to support the image.
- The crop leaves room around important features.
- Every person in a group is visible at a useful size.
- The proposed orientation fits the composition.
- You have an original file plus any helpful secondary references.
A successful lithophane begins with a photo that communicates clearly before it ever becomes a print. Choose the focal point first, reduce visual competition, and use the quote conversation to settle the crop, orientation, light style, size, and frame. That preparation gives your 3D photo print a much better chance of glowing as a picture people can recognize immediately.